
If you look at the tutorial from Missouri Quilt Company, you will see that the front side of the ornament i made by sewing strips of fabric together to make a panel. I used 3 1/2" by 20" strips to make my block to cut my circle from.


I will put a picture up shortly. Once I cut the front circle, I cut the back of a solid piece of fabric and then sewed on key rings. This was originally something to hang on the wall so if you wanted to do that you could put the key rings on the front.

After sewing the key ringson, I put interfacing on the wrong side of the back side of the ornament. Because I was hanging this ornament and not putting it on the wall, I also put the interfacing on the inside of the front side.
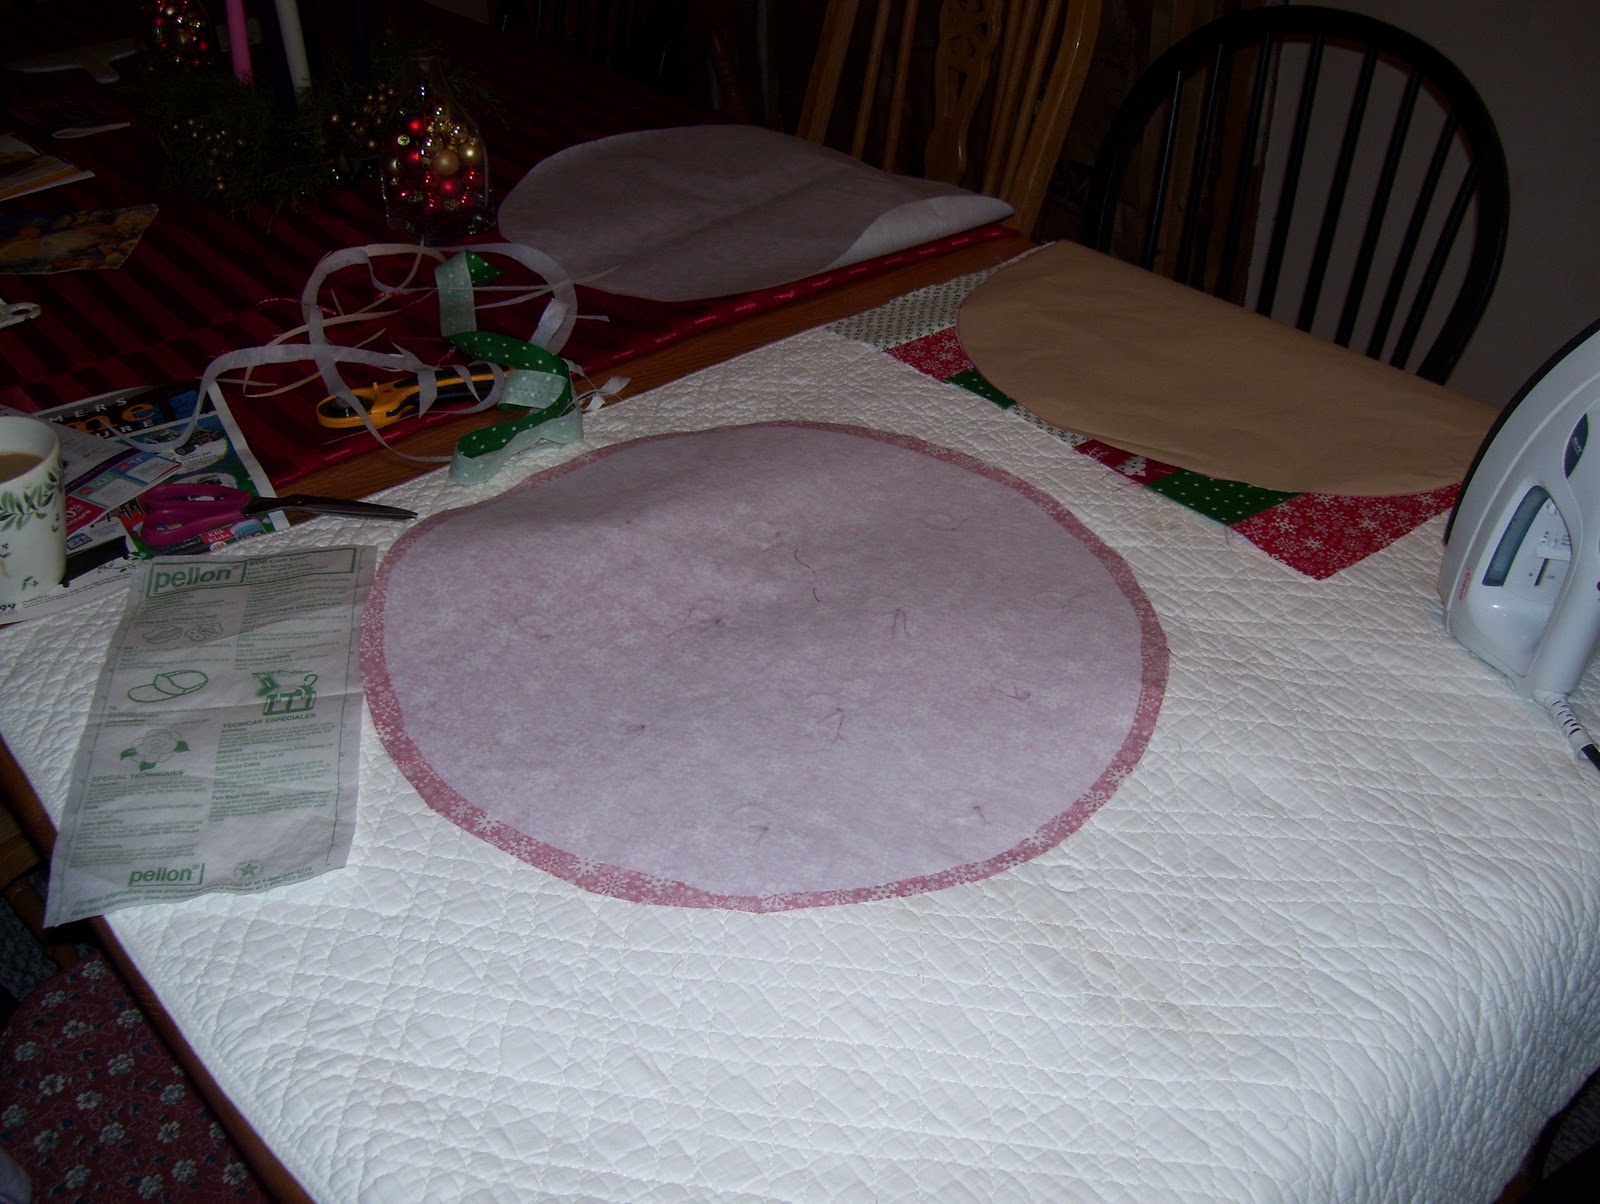
I put a 1/4 " seam around the edge and then turned the ornament right side out which was a little harder because of the interfacing. You don't have to sew the open edge together because of the topper that will go over it (of course you need to plan for the opening to go at the top of the ornament!)

I used gold foil wrapping paper, but in the tutorial they used aluminum foil for the topper. I just wanted it to be gold. You have to use the fusible webbing with a paper backing to get the topper to do right. You put the webbing on the foil paper and then draw out and cut out your topper. Once you get them cut out you peel the paper off and put them together and press. First it is better to cut out the topper pieces at the same time by folding the paper over. Second be careful matching them up and make sure you are covering your opening with your topper. In the tutorial they stitched all the way around the topper but I just stitched across the bottom of it t hold it in place.
I actually used a hole puncher to make the hole for my ribbon to tie it with, but you could cut a hole if you wanted.


It was a lot of fun to make and I will be making more for other people. Hoefully, I will get ours made before Christmas is over!
Hey Lady! Saw the lovely comment you left on my blog and had to pop over and see what you are up to...glad I did! What nifty stuff you are doing over here!
ReplyDeleteI'll be following :)